Friday, August 28, 2015

Coloring Creative Paperclay®

Hi, it's Ann here today from Annmakes and the CP Design Team with a quick and fun tip for you.  Did you know that you can use colouring pencils to colour the dry Creative Paperclay®?  Well, yes you can.  Isn't that just wonderful?  I think it is.

So, I have been playing with my pencils and some embellishments I made a while back.  I like to make embellishments and pieces to use in my mixed media in quantity so I am ready to go when I want to make a larger piece of Mixed Media, especially a canvas.  I went and coloured a dolphin, starfish and a fish.  I found that by using wooden coloured pencils on the dry clay (CP) pieces smoothed out any of the rough texture of the clay.  It reminded me of soap stone when I was done colouring.  I also noticed a pearl like finish once I was done colouring, and I found that to be very cool!

Furthermore, after rolling out a piece of Creative Paperclay® and letting it air dry, I used some Archival ink and a stamp on the clay .  It stamped just like on paper.  I then used my coloured pencils to colour in the image and it worked beautifully.


That's my tip for today, I hope that I have inspired you to look at your own art supplies in a new way and encourage you to give it a try.  Thank you for stopping by.

Ann from the blog at: http://annmakes.blogspot.com.

Thursday, August 27, 2015

Bling Your Creative Paperclay® Project

The two things I love most are Creative Paperclay® collage elements and metal leaf. I have been using these for years and the best trick is color usage underneath the metal leaf.

Traditionally, red oxide paint is used under the gold colored metal leaf and a celedon green is used under the silver leaf. Copper looks great over a burnt umber but really pops when laid over a turquoise blue. The reason you pay attention to the underlying color is because it will show through if your coverage is not solid. These colors make the metal leaf look richer.

SUPPLIES
Creative Paperclay® collage elements
Metal leaf (use your favorite color)
Water based adhesive size
A painting to work one
Soft gel or Modge Podge for glue
Golden's MSA varnish

Start with making your Creative Paperclay® collage elements. Fondant molds were used here to great my garden elements.
Since I am going to apply gold colored metal leaf, I painted the collage elements with a red oxide paint.


Next, I applied the water based adhesive size. This is a glue made for metal leaf. It goes on white and when it turns clear and it tacky to the touch, it is ready to apply the leaf.

Note: My students always ask if they could just use glue or Modge Podge and the answer is no. Neither of them get tacky. You can use spray adhesive as an alternative but in this case it would be more awkward to use.


When the adhesive size is clear and tacky, you can apply the metal leaf. Here I am using Simple Leaf which is a paper backed metal leaf and easier to use. I lay it over the object and rub it down onto the object. Repeat the process if you do not like the underlying color to show.


Apply a little soft gel or Modge Podge to the back of the element and glue down to your art. All metal leaf will tarnish except for the silver. I spray Golden's MSA varnish to prevent the tarnishing and to seal the surface.


Not only do the metal leafed collage elements add bling, they also add texture.

Dream in Color and Play all Day!

Darlene Olivia McElroy


Tuesday, August 25, 2015

How to make a mold

Hi everyone,

Meri here of ImagiMeri's Creations, with a tip/hint for you on how to make your own molds at home inexpensively.  Please leave comments and if you have any questions, I've put contact information at the end in the credits.

Have a great day and get your clay on!


Make your Own Recycle Crayons Stamp

 
Make your Own Recycle Crayons Stamp by Gloriann Irizarry
 
Are you ready for the kids to go back to school? It is almost time and with the wonderful task of back to school come the cleaning old supplies. Every year I come across this and since I like to recycle items I decided to find a better way to re use the one item we had the most from last year school supplies. Crayons and more crayons. Here I thought of a a way to use these for my Creative Paperclay Project I hope you enjoy this tutorial. 

Materials

Creative Paperclay Material
Old Crayons
One Glass Cup
Pot
Hot Water
Disposable Plastic Bowls
Hobby Knife


Gather all your left over crayons. 

 
Peel all the paper off the crayons
 
 
Break the crayons in small pieces and place them in the glass cup.

 
Place the cup in a pot full of water and place in a low heat.
Stir the mix until all the crayons are fully melted.

 
Once the crayon mix is all meted, carefully removed the hot glass cup from the hot water pot and pour the mix in the disposable plastic bowls. Place the hot mix in the fridge.


Wait about and hour and remove the bowl from the fridge.
Wiggle the plastic bowls until the wax mix is released.

 
Clean the edges out with the hobby knife.

 
Start carving your favorite design directly on the wax block.

 
You can make one continue pattern or a combination of patterns on the crayon wax block.

 
Have fun be creative and carve any designs you want. Once your satisfy the crayon block is ready. 

 
Grab your Creative Paperclay roll it out to your desire thickness.

 
Place your new stamp on the rolled out Creative Paperclay Material and apply even pressure to the stamp. Gently remove the stamp from the Creative Paperclay sheet and expose the new design under it. Now your stamp is ready to be use in any future paperclay projects.


 Feel free to join our Facebook Q&A group in click here . We will gladly help you out.
 
Have a great new school year and happy crafting.
 
Sincerely
Gloriann Irizarry


Friday, August 21, 2015

Games of Thrones Mini Dragon Egg Necklace

Here you go, Game of Thrones fans—wearable art that Khaleesi would be proud to model!!

I started with a small ball of Creative Paperclay®, and formed it into an egg shape.

Next, I rolled out a small piece of clay until it was very thin—between 1/32" and 1/16" of an inch thick. (Oops!! There was leftover glitter from my last project on my work mat. See it in the clay? It really doesn't matter for this project, because the final product gets glazed.)

I used a slurpie straw as a cookie cutter to cut out the scales. These straws are about twice the size of a normal soda straw. A regular straw will work, there will just be more scales needed to cover the surface of the egg.

I began layering the scales starting at the bottom of the egg. 

I continued layering the scales, one row after another, until I reached the top of the egg. I used the smaller, regular soda straw for the last row of scales. Last step before drying is to add a screw eye to the top of the egg.

After the eggs were dry, I painted them with acrylic paints in dragon egg colors—cream, green, and black red. When the paint was dry, I brushed on a small amount of gold mica powder from Terri Sproul's  Mixers Jewel Effects Color Set Mixer to add the highlights. 

Here's the finished necklace.

Carole

Tuesday, August 18, 2015

Transferring Patterns - Tori's Tip for August

This month I made a short video on how to transfer a pattern to Creative Paperclay® modeling material.  It is an easy technique better demonstrated than written out :)


If you have a light box or you are able to see your design from the reverse side of your pattern paper, you can skip step 1 and just trace the pattern in reverse the first time.

I'll be using this technique for my project in September, when I'm going to share with you how to make an "antique" chalk/slate board.

For transferring a pattern to dry clay, follow the same tracing method, but then place the traced pattern onto the clay and go over it with a pencil while it is on the dry clay.

Thanks for visiting the blog!

I'd love for you to join me for more projects & art adventures on my personal blog
Find me on Facebook, or peruse & ponder pics with me on Pinterest


Monday, August 17, 2015

Upcycled Lightbulb Doll by ImagiMeri's Creations


The "Upcycled Lightbulb Doll"
Using  Creative Paperclay®

Hello all,

My name is Meri Wiley, and I'm one of the most recent design team members.  I will be posting projects/tutorials every 2nd and 4th Friday of each month.

This post will be shared on Creative PaperClay's FaceBook Q & A pagetheir blogJoanne's,Michaels, and Hobby Lobby's FaceBook pages, as well.

Today is my first project/tutorial and I'm very excited to share this with you.  Please feel free to leave comments, suggestions and questions, and I'll answer questions as quickly as possible.

This is a class I taught back in 2013, at one of my events in my home studio. 


Today's project/tutorial will show you how to make one of these as a witch......Halloween is coming, you know.  This project is perfect for children as well, with supervision, for birthday parties, scouting events, etc.

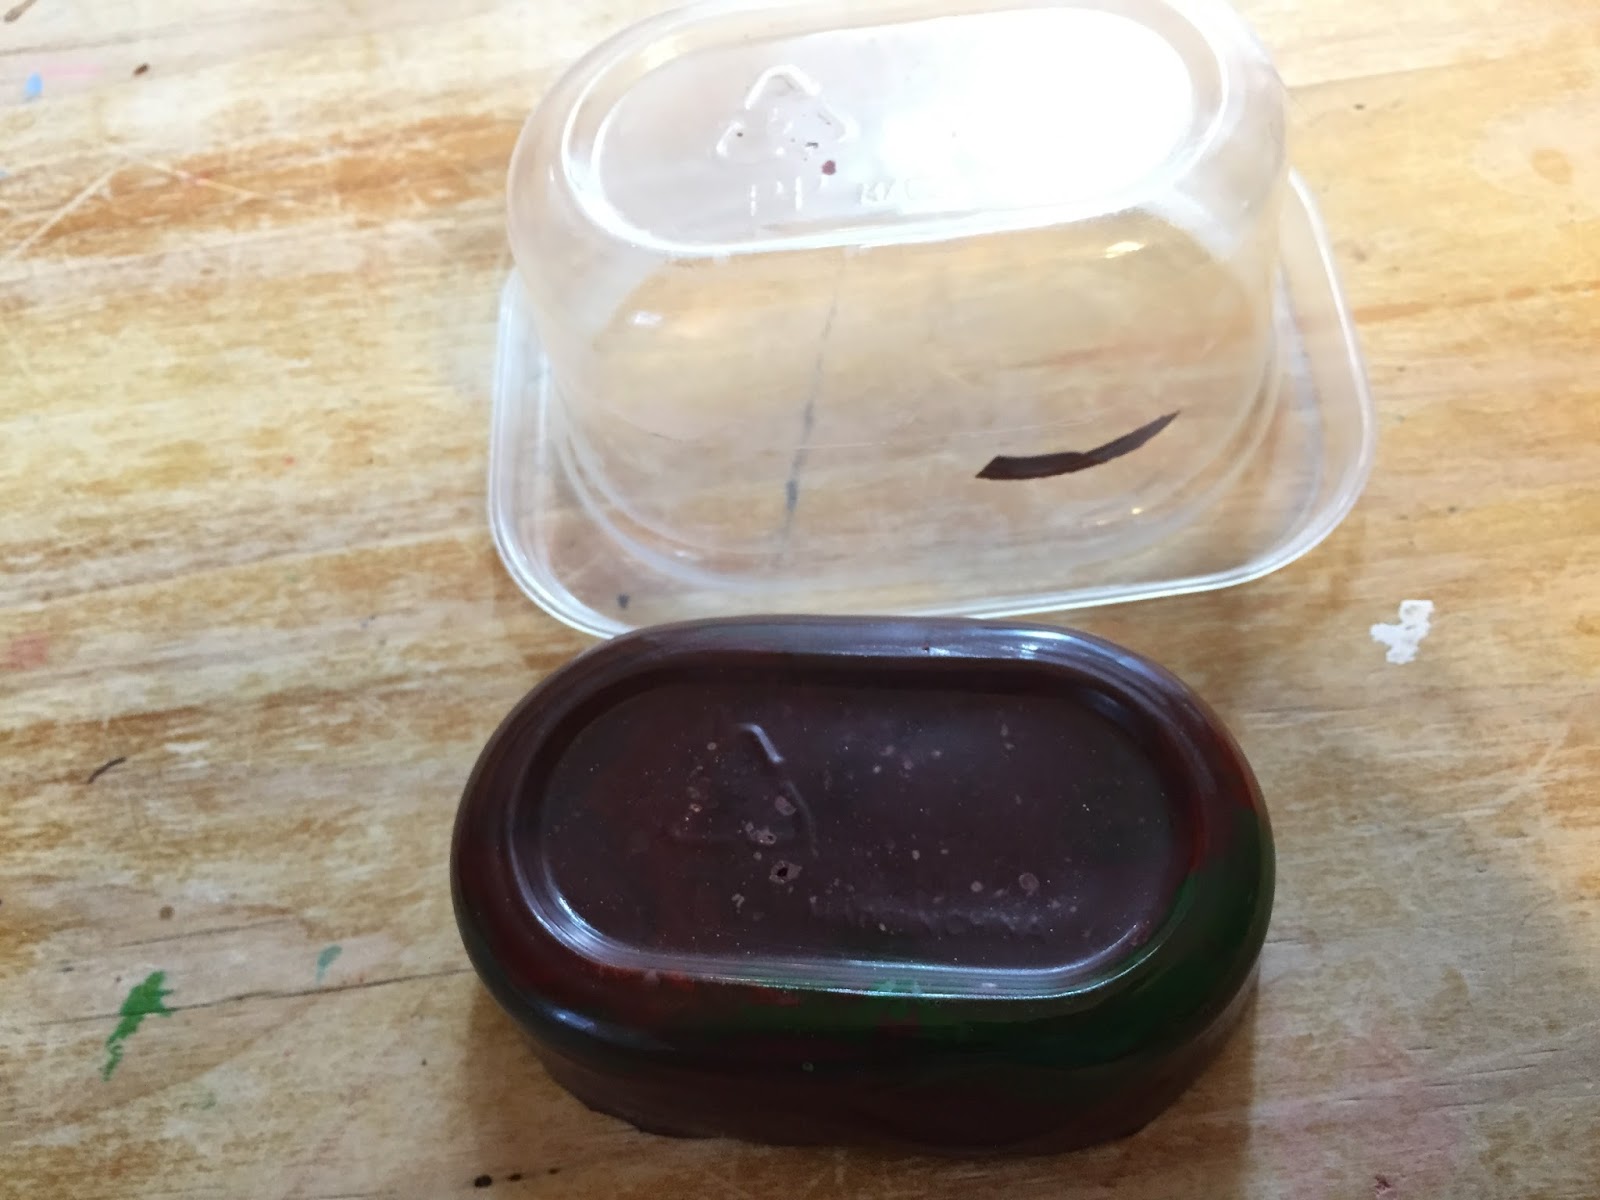
Click on this image of supplies, save and print if needed

Click on this image, save and print for full size pattern

Fig. 1 miscellaneous tools, Fig. 2 used light-
bulb, and Fig. 3 18 guage wire shaped into a
stand for baking the head.
Fig. 1  Creative Paperclay®Fig. 2 Rolling pin
and small bit of clay, Fig 3 roll out clay
to about 1/8 inch thickness
Fig. 1 drape flattened clay over the lightbulb
and start mashing to cover. Fig. 2 while
holding clay covered lightbulb in hand,
smooth with your thumb or fingers using
water (Fig. 3and work out air bubbles.
Try to smooth as much as possible which will
eliminate much of the sanding when dried.
Fig. 1 roll out small cone shape for the nose, 
Fig. 2 create a concave end at largest end
of cone, Fig. 3 using spatula or knife
(I prefer just a regular kitchen paring knife)
and blend concave cone end onto the
covered lightbulb where you'd like
the nose to be.
Fig. 1 After smoothing the clay around the
lightbulb I trimmed off excess clay at the
bottom so the threads of the lightbulb are
exposed. Fig. 2 after placing the cone on as
the nose, I then twisted it to make a funny
witch nose.  I also added ears.  Fig. 3 print
out the body and dress pattern on legal paper
or on two regular sheets and tape together. 
Fig. 1 20" x 8.5" piece of muslin,
Fig. 2 fold fabric and lay out pattern.
Fig. 3 After sewing fabric pieces, make
sure you clip all curves and angles.
Fig. 1 make sure your clay head is in a
250-300 degree oven,using the pre-formed
wire stand to hold it up, while working
on the body. It's perfectly safe to bake the
lightbulb in the oven. Bake for approximately
1 hour remove and let cool. You may also let
your clay air dry naturally.
Fig. 2 Finish sewing body together with
a 1/4" seam allowance and leaving the neck
open, Fig. 3 Proceed to turn body inside
out after making appropriate seam clippings.
Fig. 1 straighten seams, Fig. 2 notice the
gathering information from the pattern at
the neck opening,
Fig. 3 double thread your needle.
Fig. 1 fold over neck edge about 1/4" to the
inside, Fig. 2 proceed to create a large
basting stitch through both layers of the
neck opening, Fig. 3 Make sure you start at
one point and end as close as possible to the
beginning.  Leave long "tails" as you will need
to gather and tie the neckline.
Fig. 1 stuff doll body, starting with legs.
I created segmented legs so that my doll will
sit and legs will hang in a natural position,
Fig. 2 continue to stuff the remainder
of body & arms, Fig. 3 stuffing should reach
the neck opening and your basting "tails"
should be off to the side.
Fig. 1 apply hot glue to the end/tip of the light-
bulb, Fig. 2 quickly place the end/tip of light-
bulb into the opening at the neck so that
the glue is sticking to the fiber fill,
Fig. 3 using hot glue, "tack" the neckline
around the "neck" of the lightbulb and
proceed to gather the neck opening around
the lightbulb neck by pulling on the
thread "tails" until snug.  Tie a couple of
knots to hold gather and snip off excess.
Straighten out the gather around the neck.
Fig. 1 paint the lightbulb head using "flesh"
tone acrylic paint. Fig. 2 begin to paint the
body with flesh tone as well, Fig. 3 Finish
painting on both front and back.
Fig. 1 After letting the flesh tone paint dry,
I applied a layer of crackle medium and
let it dry, and then applied a layer of light
greenish color over the two previous layers.
I let that dry and it resulted in an overall
crackled finish for perfect witch
skin (Fig. 2Fig. 3 Using the provided
pattern for a doll dress,  I found some
suitable halloween fabric, cut a
piece 20" x 8.5", folded, pinned pattern, cut out
and then proceeded to stitch one shoulder seam,
one side seam and only about one inch on the
opposite seam near the bottom. I turned
the dress right side out and ironed it flat.
Fig. 1 using either a single side razor blade, or 
scissors, cut the bottom edge of the dress
up multiple times to "fray" the edge,
Fig. 2 Put the dress on the doll and finish
"hand" stitching the side and shoulder seams
with matching thread and needle,
Fig. 3 completed dress on doll.
Fig. 1 add gathered lace around neck to hide
the gathered fabric.  Embellish with more
ribbon or charms, to your liking.  Fig. 2 using
your hot glue gun, place miscellaneous dots
of glue around on the face as "moles."
Finish painting face and glue yarn or jute
to the head as hair, Fig. 3 You've finished
your Halloween witch!  Enjoy!

Please leave me feedback if you enjoyed this, or even if you have suggestions or comments on something you don't understand.  I want to make sure you understand my projects/tutorials. Please do not share without giving me credit and or a link to this blog.

Please check out participating sponsors and especially the Creative PaperClay Q & A Facebook page using the links provided at the beginning of this project/tutorial.

Hugs,
Meri

Sunday, August 16, 2015

Cat Paw Print Wall Hanging


Last month I showed you a recycled box, with my cat's paw prints (each of them) - on the front of the box!  It is on my ledge in front of my sink in my kitchen, to hold all of their cat treats and things in, instead of all over my counter and house!  This sparked another fun idea - a wall hanging - with the same paw prints, only adding photos to this one!!  Great idea you can recreate for a fun gift, using a favorite pets picture and paw prints!   


As you can tell, our cats mean the world to us!  Our mamma cat Tygress, will be 15 on 9/5 - the boys will be 10 on the same day!  I wanted a way to keep their paw prints - without having to ink them to keep them!!!  This was the BEST thing I could do - and easy enough for me to do with the cats!  Ty won't be alive forever, I didn't want to loose her without having something of just hers!   


Supplies for this project:
Delight product for the ornaments
Brown cardstock
Cricut cartridge - Ashlyn's Alphabet
White ribbon
11 x 14 photo matt with space for 6 photos
Frame (optional)

Directions:
Step one:  Using the Delight product - roll out enough product to let your cat (or dog) walk on it, giving you the paw prints you need.  *Make a few extra - for use later on)  
Step two:  Using a circle of some sort - cut out the paw prints individually, as well as add a hole at the top for the ribbon to feed through.   Repeat step one and two for enough cats (or dogs) you have, labeling which pet it is on the back with a permanent marker after it has dried.  
Step three:  While the Delight product is drying - cut out the alphabet letters you need for your photos and projects, add them to your photo matt.  
Step four:  Cut 3 3.5 x 3.5" squares for 3 of the squares, set aside.  Cut 3 photos to the same size to place in the squares.  
Step five:  Take 1 of the photos, add it to the top using tape to keep it in place.  Put another photo at the bottom in the middle, and another at the top right - again, using tape to secure it.  Add the brown squares in the other squares, taping ONLY to the bottom. 
Step six:  Using a hole punch of some sort (I used a Silent Setter with the middle hole punch for my creation, it worked best), add a hole to the top middle square, bottom left and far right squares at 1.5" - all at the top of the squares. Feed through the ribbon before you tape the squares off.
Step seven:  After the Delight ornaments have dried, feed the ribbon through, tying a knot at the top.  Also add a small bow to the top where the hole is to conceal it!   

**Tip - if you do not have specific supplies, such as the die cut machine, feel free to substitute...stickers can also be used!    
  
This project was so much fun to make, and with my cat being as old as she is - a great way to add something of "hers" to something I will keep forever!   Thanks for letting me share this project with you today!  I hope you will make one of your own, and share it with me! 
Lynda Jeffs
Creative Paperclay Design Team